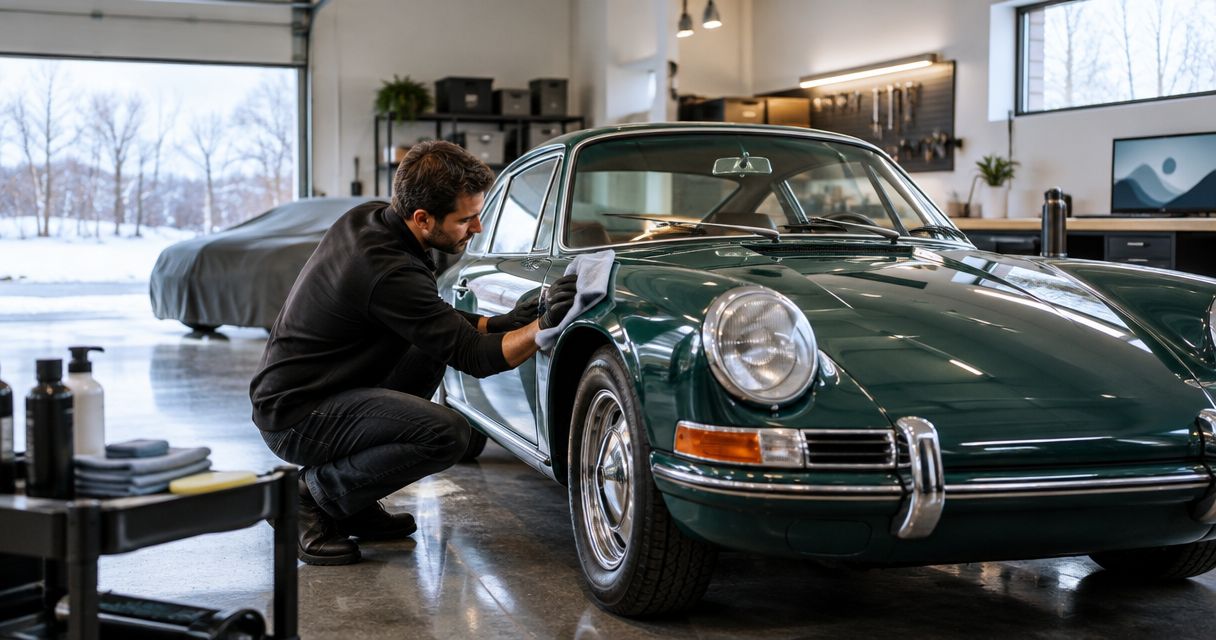
Royal Touch Mobile Detailing LLC brings faith-driven service and a commitment to doing work right the first time to vehicle care, including premium vehicles and aircraft. Instead of repeatedly wiping down a dusty classic and rushing into polish, follow a classic car storage to show season detailing workflow that starts with inspection, removes contamination carefully, and matches protection to the finish.
- Royal Touch Mobile Detailing LLC recommends inspection before polishing for classic car storage to show season detailing.
- Document paint history, fragile trim, and storage damage before your first wash.
- Choose paint correction only after assessing the finish; ceramic coating does not replace careful preparation.
- Repeat gentle maintenance between shows, not abrasive correction at every event.
Why this matters
A classic car leaving storage needs more than shine. Dust, moisture, deteriorated seals, and previous repairs all affect how you should approach cleaning. A glossy panel does not tell you whether the paint beneath it can tolerate polishing.
Royal Touch Mobile Detailing LLC mobile detailing is best for owners who want vehicle care brought to their location. For your 2026 show-season preparation, discuss the vehicle’s condition and proposed workspace before arranging service through Royal Touch Mobile Detailing LLC.
The goal is a clean, presentable car without treating original materials as replaceable. Mechanical readiness comes first; detailing is not a substitute for a qualified inspection after storage.
Before you start
- Gather the history and materials. Find repaint records, existing coating instructions, upholstery information, and the storage checklist. Have clean wash media, separate wheel-cleaning tools, suitable automotive cleaners, drying towels, and inspection lighting ready. Choose chemicals for the actual material, not simply the car’s age.
- Confirm access and working conditions. Arrange permission to work at the storage location, room to open doors, and a shaded workspace. Confirm water, electricity, drainage, and weather arrangements with your detailer rather than assuming what a mobile appointment includes. Keep keys and any special starting instructions accessible.
- Identify the hidden stop sign: uncertain paint history. A classic can have original paint beside repaired or repainted panels. Do not assume every panel has the same finish or clear coat. Flag lifting paint, checking, loose pinstriping, flaking trim, and leaks before washing. If you find rodent contamination or extensive mold, stop routine interior cleaning and arrange appropriate remediation.
Choose your first 2026 event date before planning correction or protection. Any product-specific curing requirements belong on that same calendar.
Storage pickup and condition record
- Document condition. Photograph the vehicle before removing dirt or attempting repairs. Take at least 6 photos: front, rear, each side, cabin, and engine compartment. Add close-ups of existing defects and label the folder with the pickup date.
- Check readiness. Follow the vehicle’s storage-return instructions or arrange a qualified mechanical inspection. Address leaks, tire concerns, damaged wiring, and unsafe operating conditions before driving. Do not start an engine simply to move the car into better detailing light if its return-to-service checks remain incomplete.
- Set boundaries. Write down areas that need special handling: loose badges, aftermarket wiring, fragile headliners, cracked seals, repaired upholstery, and accessories that should stay untouched. State whether preservation or defect removal matters more to you.
Expected result: You have a dated 2026 condition record and an agreed cleaning scope. Anything unsafe, unstable, or uncertain has a named next action rather than being hidden under “full detail.”
Give the same record to anyone handling the vehicle. That includes the storage operator, transporter, mechanic, and detailer when those people are involved. Clear handoffs prevent someone from treating a known fragile area as ordinary dirt.
The sequence below keeps each decision tied to the condition found at the previous stage. Do not skip straight from storage pickup to machine polishing.
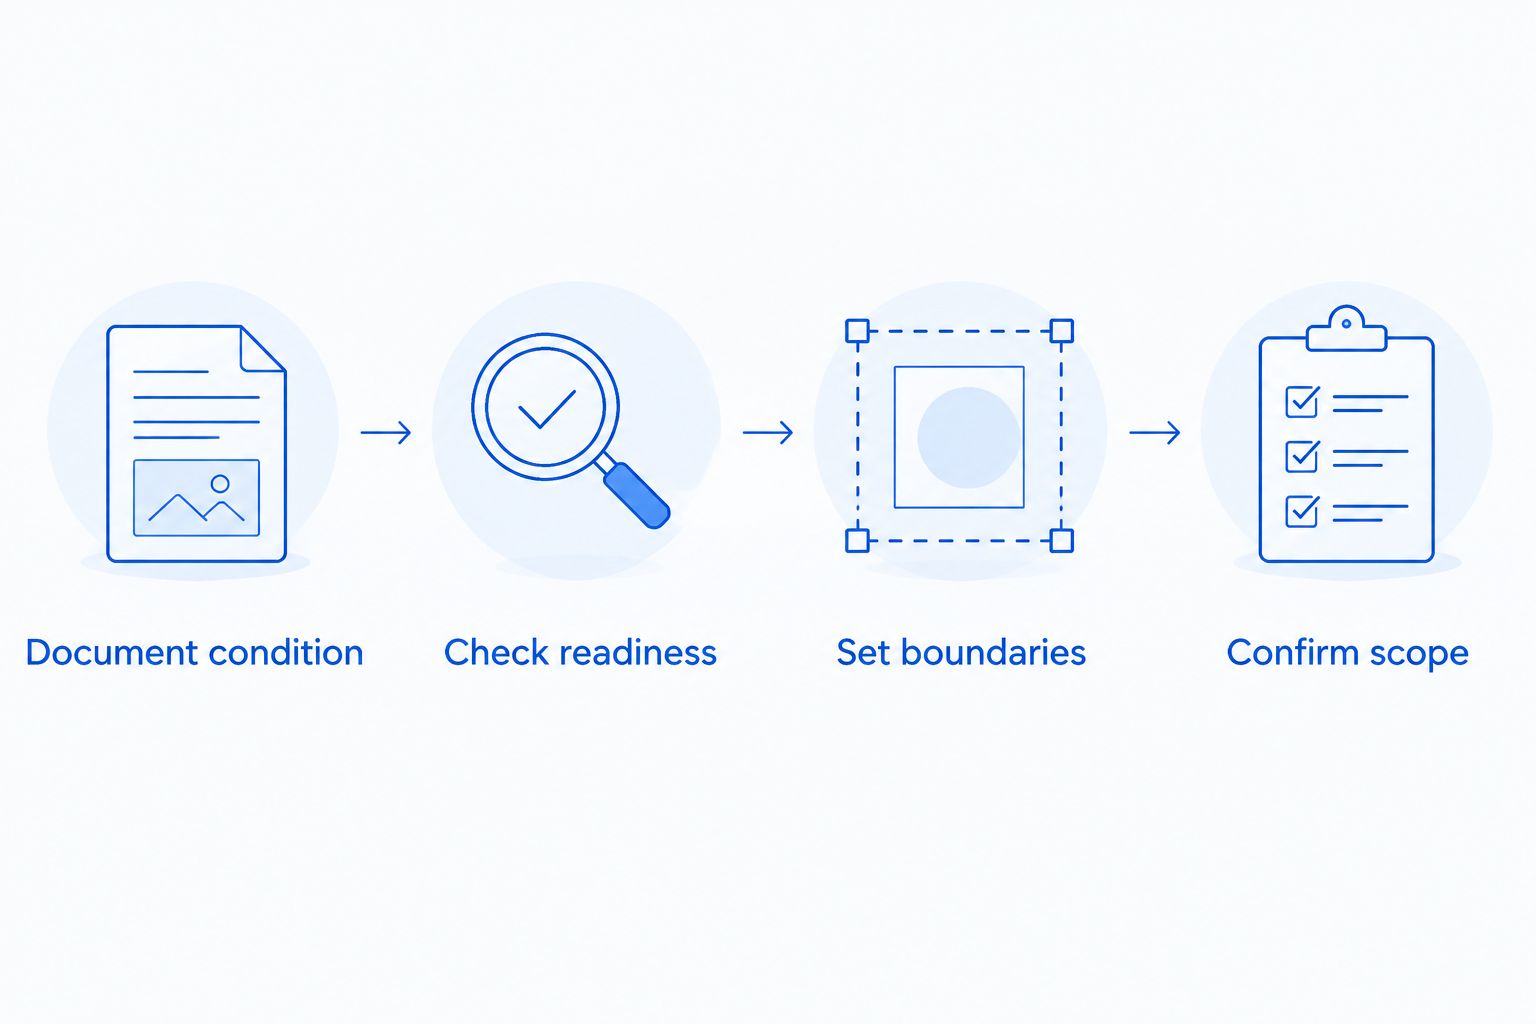
- Confirm scope. Review the record with your detailer before work begins. Separate cleaning, paint correction, and protection into distinct decisions so that approving a wash does not automatically approve abrasive polishing.
Exterior and cabin cleaning
- Remove loose contamination safely. Inspect the cover before lifting it and avoid dragging dirty fabric across the finish. Do not dry-wipe accumulated dust from paint. Use a cleaning method suited to the contamination and the condition of seals, trim, and bodywork; keep forceful water away from vulnerable openings.
- Clean in controlled sections. Work on 1 panel at a time and keep wash media clean. Use separate tools for wheels and painted bodywork. Follow cleaner directions, avoid letting chemicals dry on surfaces, and stop if a finish reacts unexpectedly. Test unfamiliar products in an inconspicuous area before wider use.
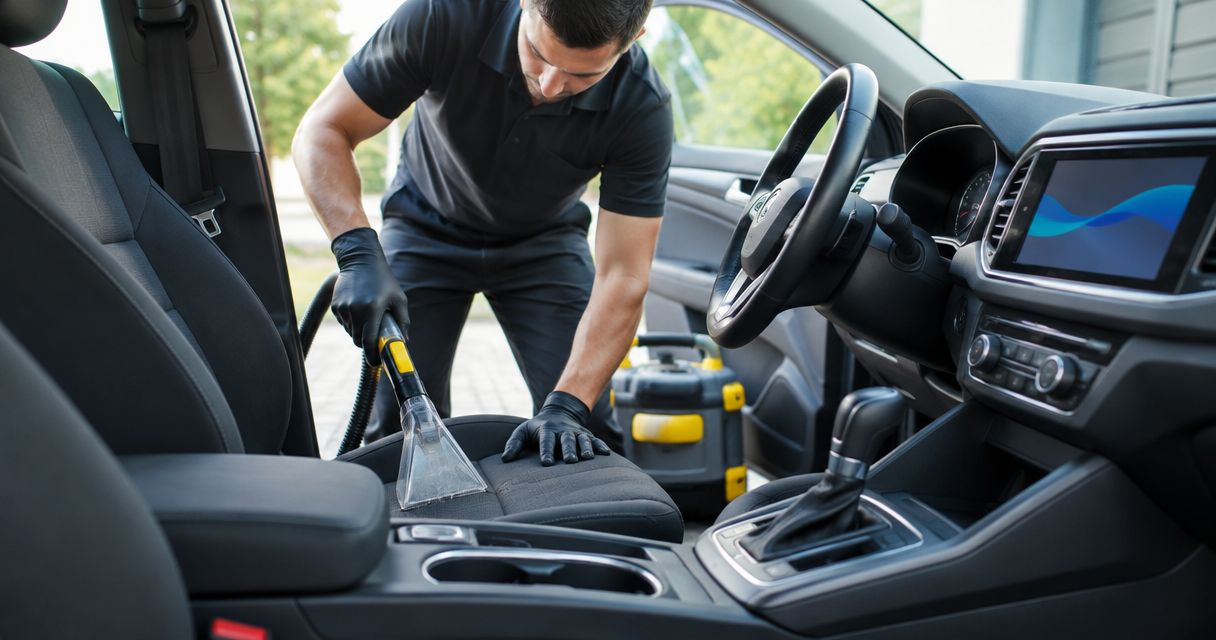
- Clean the cabin by material. Remove loose belongings and vacuum accessible debris before wet cleaning. Identify leather, vinyl, fabric, wood, and other trim before selecting cleaners. Apply liquids to the cleaning tool where appropriate rather than soaking switches, gauges, stitching, or seams.
- Dry and inspect. Dry the exterior and accessible water traps gently. Check door jambs, weatherstripping, trim edges, and the trunk opening without disturbing brittle components. Leave cleaned interior materials properly dry before closing the vehicle or replacing mats.
Expected result: Loose dirt and ordinary soil are removed, the cabin is dry, and you can distinguish remaining paint defects from contamination.
If a spot remains, identify it before increasing pressure or chemical strength. Repeated scrubbing is not a diagnosis. Tree residue, mineral deposits, staining, and damaged paint need different responses; an unknown mark deserves inspection rather than a stronger cleaner by default.
Paint assessment and protection selection
- Inspect clean paint. Look at each panel under consistent lighting and from different angles. Record swirls, staining, oxidation, chips, and failing paint separately. Do not classify every visible mark as something polishing should remove.
- Choose the least invasive scope. Decide whether the car needs maintenance cleaning, selective correction, or a broader correction assessment. Discuss original-paint preservation explicitly. Where polishing is appropriate, a professional test area helps establish a workable approach before treating the whole vehicle.
- Select compatible protection. Match the product to the finish, preparation requirements, storage conditions, and your ability to follow aftercare instructions. Do not layer a coating over an unknown surface treatment without establishing compatibility.
Expected result: Your detailing plan identifies what will be cleaned, what will be corrected, and what will remain untouched. Protection follows that decision; it does not replace it.
Choose the work your finish actually needs
| Approach | Best for | Benefit | Limitation |
|---|---|---|---|
| Maintenance cleaning | Stable finishes needing seasonal cleanup | Removes dirt without making abrasive correction the default | Does not remove established paint defects |
| Assessed paint correction | Suitable finishes with correctable swirls or oxidation | Improves appearance by addressing defects in the paint surface | Abrasive polishing removes paint material and is unsuitable for failing finishes |
| Ceramic coating after preparation | Compatible finishes whose owners want an added protective layer | Adds surface protection with a defined maintenance routine | Requires suitable preparation and aftercare; does not repair chips or failing paint |
Preserving sound original paint takes priority over chasing every scratch. The paint correction guide for classic car collectors provides a deeper starting point for that discussion.
Royal Touch Mobile Detailing LLC offers paint correction and ceramic coating alongside mobile detailing. Ask for a condition-based scope rather than selecting the most intensive work simply because a show is approaching. The limitation is straightforward: detailing cannot replace missing paint, repair corrosion, or make deteriorated trim structurally sound.
Final inspection and show handoff
- Make a 2-pass inspection. Check the exterior first, then the cabin and accessible openings. Look for residue around badges, streaked glass, damp mats, and missed soil. Inspect without repeatedly touching the paint to “feel” whether it is ready.
- Record aftercare. Save the names and instructions for any protection applied. Follow the actual product’s requirements for water exposure, washing, and curing. Do not substitute a generic online waiting period for the instructions supplied with the product.
- Prepare for transport. Confirm the vehicle is dry before covering it, and use a clean cover intended for the vehicle and setting. Secure loose cabin items. If using a transporter, share fragile-area notes and distinguish detailing instructions from loading and mechanical instructions.
- Pack for the event. Bring clean towels and only surface-compatible maintenance products you already understand. Keep wheel towels separate from paint towels. Do not introduce an unfamiliar polish or aggressive spot treatment in the show field.
Expected result: The car leaves with clean surfaces, documented care instructions, and a practical event kit. Your 2026 show checklist now reflects the work actually completed, not just the appearance you hoped to achieve.
Between-show maintenance whenever the car returns home
The second workflow starts after each outing, not after another winter in storage. It is best for owners who drive their classics between events and want to preserve the preparation already completed.
- Inspect before covering. Look for road soil, insect residue, bird droppings, fresh leaks, and interior moisture. Never treat the cover as a substitute for inspection.
- Match cleaning to the dirt. Use an appropriate wash when the car has road film or visible contamination. Do not assume a quick spray-and-wipe is suitable for every level of dirt.
- Dry and reset. Dry cleaned areas, remove rubbish, and return only clean, dry mats and accessories. Keep contaminated towels out of the next event kit.
- Update the record. Add new chips, scratches, or material concerns to your 2026 care notes. Compare them with the pickup photographs before deciding that another correction appointment is necessary.
Expected result: Each outing ends with a known vehicle condition and a ready-to-use care kit. The benefit is consistency; the trade-off is that maintenance still requires attention after the drive.
Troubleshooting
Dust returns immediately after cleaning
Check whether the cover, towels, storage area, or nearby work is reintroducing dirt. Clean or replace contaminated materials before repeating the wash. Stop dry-buffing the entire car each time a light layer settles.
A towel picks up paint color
Stop and assess the finish and product being used. Pigment transfer can occur with single-stage paint, but unexpected color transfer also warrants checking for deterioration or incompatible treatment. Do not treat the absence of clear coat as permission for aggressive polishing.
White residue remains around badges or trim
Identify whether the residue is dried detailing product, oxidation, or deteriorated material before removing it. Use a compatible gentle method, and avoid prying at brittle emblems or scrubbing cracked rubber. Loose trim needs repair, not harder brushing.
Musty odor returns after interior cleaning
Check for damp carpet, wet underlay, trunk leaks, and deteriorated weather seals. Surface cleaning alone does not resolve an ongoing moisture source. Address the leak and drying needs before using fragrance to cover the smell.
The show date conflicts with coating aftercare
Compare the event, transport, and washing schedule with the selected product’s instructions. Change the appointment or postpone the coating if the requirements conflict. A deadline is not a reason to shorten required curing or preparation.
Customize your workflow
Build the plan around how you use the car: regular driving, occasional shows, or preservation-focused storage. Keep the inspection sequence, then adjust the cleaning scope and protection decision to the finish and your maintenance routine.
For Royal Touch Mobile Detailing LLC mobile detailing, share the vehicle’s history, location, first event date, and fragile-area photographs when discussing service. Confirm workspace requirements and whether any separate mechanical or restoration work must happen first.
Do not automatically carry an automotive product choice over to an RV or aircraft. Different surfaces and operating requirements need their own assessment, even when one owner keeps several types of vehicle.
FAQ
What should I do first when taking a classic car out of winter storage?
Document its condition and confirm mechanical readiness before driving or detailing. Photograph existing damage, review storage-return instructions, and flag fragile paint, trim, and seals before cleaning.
Should I polish my classic car before the first show?
Polish only after the clean finish has been assessed and correction is appropriate. Sound paint with minor cosmetic defects does not automatically need abrasive treatment, especially when preserving original material is your priority.
Can I wipe storage dust off with a dry microfiber towel?
Do not dry-wipe accumulated storage dust from paint. Use a cleaning method suited to the contamination and finish so dirt is removed rather than dragged across the surface.
Is ceramic coating better than paint correction for show preparation?
Ceramic coating and paint correction perform different jobs. Correction addresses suitable surface defects; coating adds protection after compatible preparation and does not repair chips, corrosion, or failing paint.
Can mobile detailing happen at my classic car storage location?
Mobile detailing at a storage location depends on permission, access, workspace conditions, and the agreed service requirements. Confirm utilities, drainage, weather arrangements, and room around the vehicle before scheduling.
How long should I wait before covering a freshly detailed classic?
Wait until the vehicle is dry and any applied product’s instructions permit covering. Confirm the protection product’s specific requirements instead of relying on a universal waiting period.
Does my classic need paint correction before every car show?
No, a classic does not need paint correction before every show. Inspect and maintain the finish between events, and reserve abrasive correction for assessed defects on suitable paint.
One last thing
Keep one towel for wheels and never let it graduate to paint duty. Separating tools is a small habit that supports the careful work done before the show.
For the 2026 season, save a photograph of your clean, packed event kit beside the vehicle’s care record. That gives you a simple reset reference after every outing—without turning each weekend into another full correction project.